Remember the awesome cooler covers Martha came up with for her
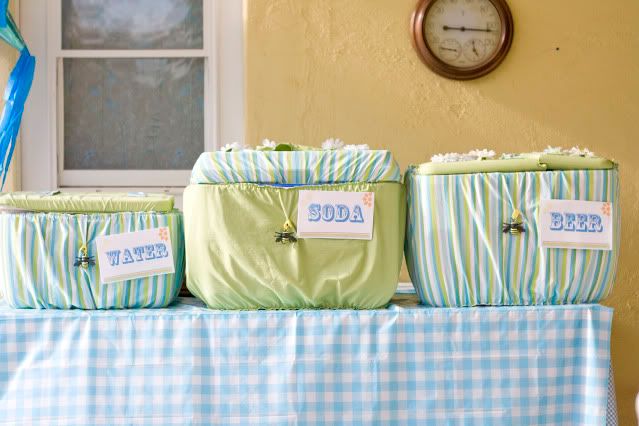
party? Remember how we almost spent at least $40 buying buckets for the drinks? Instead we paid about $5 for thrift store bedsheets to make these great covers? What a money saver...and they're pretty good looking too! Martha was awesome, and sent over some before pictures and some detail shots. She created these the night before, on the fly, so we don't have step-by-step shots. I think you'll get the idea though!
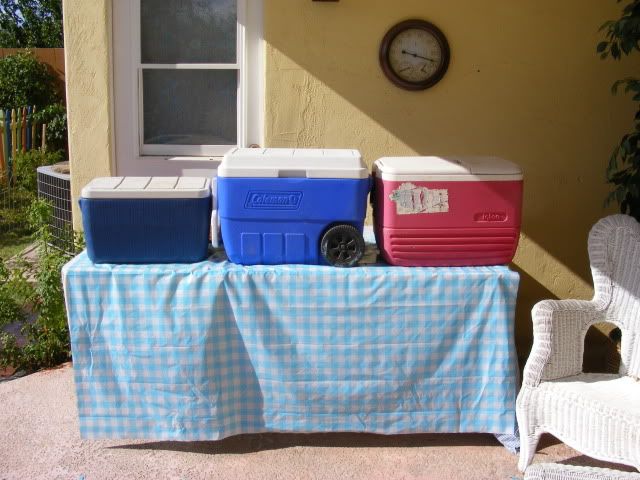
I said before they were pretty dingy and I wasn't lying!
NOT a pretty sight. So here are the steps. Note that the bed sheets we picked up were 2 single sized sheets. They made 3 covers and could probably make 2 more!
Materials:
Bed sheets (or fabric), 1/4" elastic, sewing machine, accessories (optional)
1. Measure across the base of your cooler at it's widest point. Add enough for your seam allowance + 3. inches. For the height, measure from the base to the top, add seam allowance + 2 inches. Cut out your rectangle from your bed sheet (or whatever fabric you decide to use).
2. Fold your rectangle in half (hamburger style, if you will...) and pin right sides together. Sew your side seam.
3. Hem the top and bottom.
4. Attach the elastic. Martha used 1/4" elastic. She pinned the elastic to the inside, near the hem and
stretched it as tight as she could while she sewed on top of the elastic. This will create the gathered effect.
5. Slide over the bottom and ta-da! You're halfway there! So simple!
Now your lid shape can vary. All three of these had different lids. One came off completely, one was hinged and the other was hinged but had two doors. Here are a few pictures to show what she did for each of them. You're going to basically do the same thing that you did for the base on the removable lid and the hinged lid, except you'll sew on elastic to hold it in place on the underside of the lid (see below).
This last lid was the hinged double door kind. Martha created a pillowcase type sleeve for this one, with elastic on the end to hold it in place.
You can also sew the base cover and the lid cover together on the sides so it doesn't slide around.
Martha also added handles and attached snaps on some flowers and the lids. She can remove the flowers and wash the covers!
Finished, they look like this:
These would be great for an end of the summer/Labor Day party!

