 (Adam in his older sister's red velour v-neck shirt )
Merry Christmas everyone!
 (Adam in his older sister's red velour v-neck shirt )
 Hope you have a relaxing, enjoyable Christmas!
 Adam took this one for me last week. I asked him to get a full body shot and this is what I ended up with. I guess my head isn't part of my body...
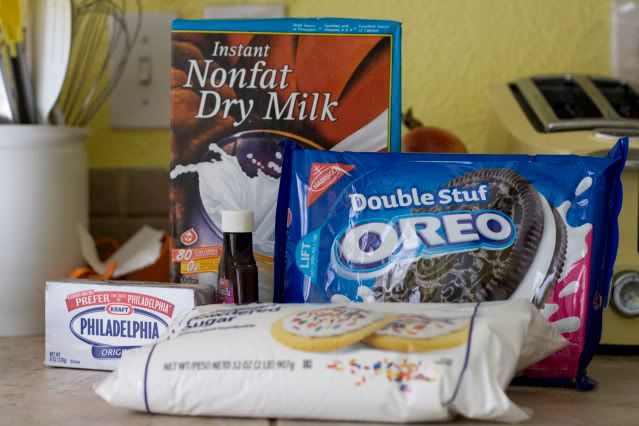 Double-Stuf Oreos (why you would get the regular ones is beyond me), a stick of Cream Cheese (8oz.), Vanilla, 1lb of Powdered Sugar and Instant Nonfat Dry Milk (ew). As you can see, I got the good brands of Oreos and Cream Cheese, but I don't think the other ingredients matter. Besides, what else do you use Nonfat Dry Milk for?!
 Then, you're going to take the rest of the Oreos and chop them into smaller pieces. The size is really up to you. I put a piece of foil on my cutting board for less mess (and to be used later).
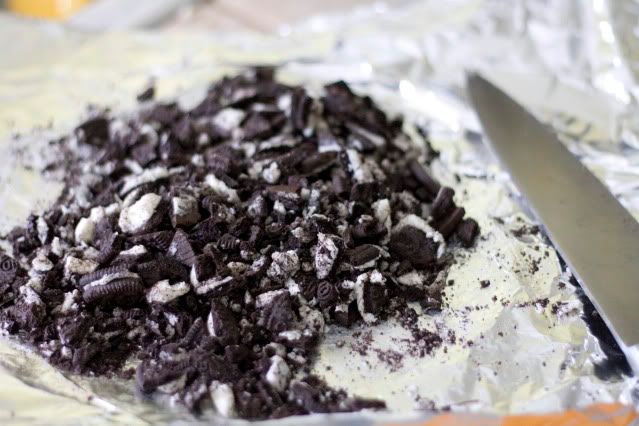 Now, set both of your Oreo piles aside. For this next part, you will need some sort of mixer. A hand mixer will do in this case, or your trusty KitchenAid. Let's pause for a minute and marvel at my beautiful early Christmas present from Adam.
 Aahhh, I'm in love. I've only been asking for one since my freshmen year of college and now it's finally mine! Anyway, back to the recipe. Throw in your stick of cream cheese.
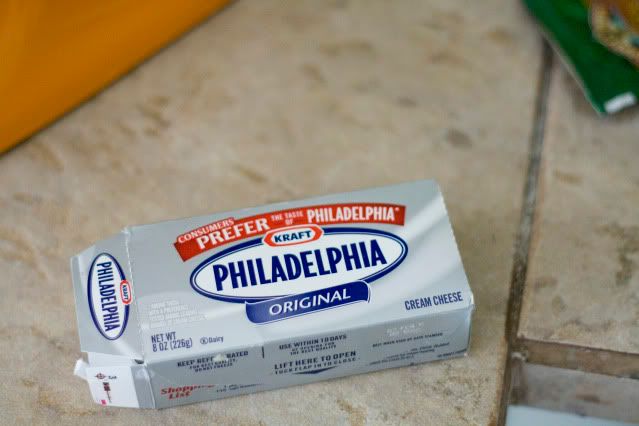 Add 1 teaspoon of vanilla.
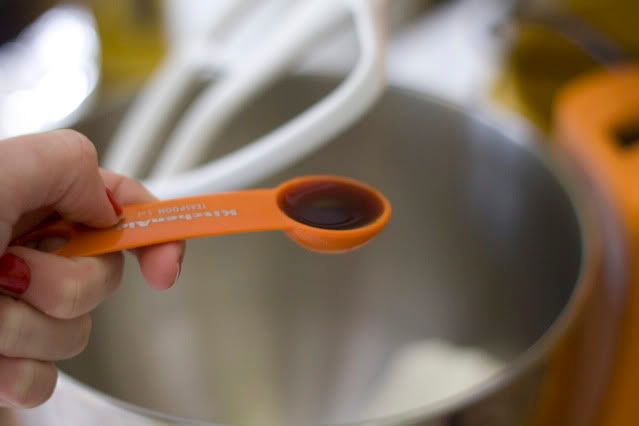 And 1 cup of that yummy looking nonfat dry milk.
 Then run your mixer until its nice and creamy. And don't try any just yet. Believe me when I say, it's not good.
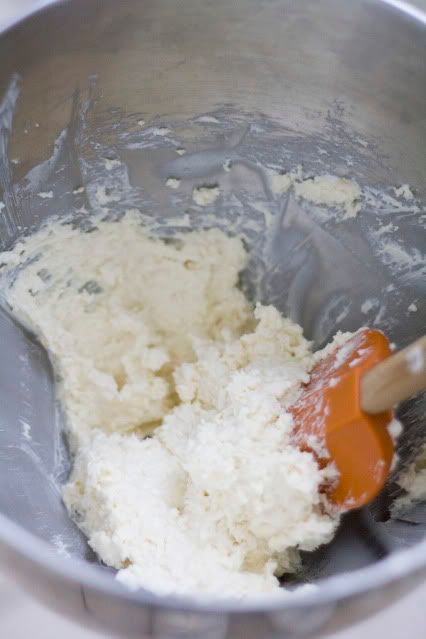 Next, you're going to slowly add in your powdered sugar, one cup at a time, letting it mix as you go, until you've added the whole 1 pound of it! It'll look something like this.
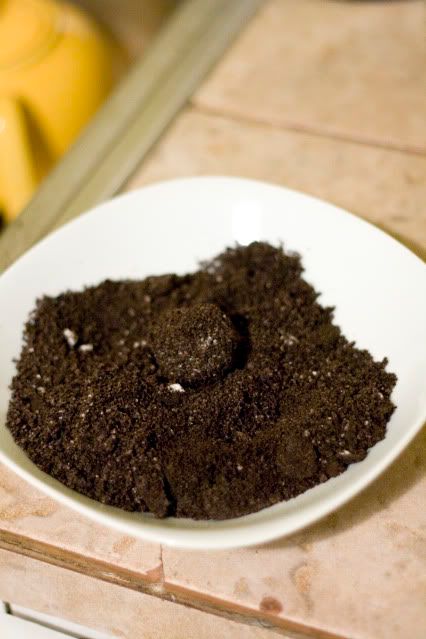
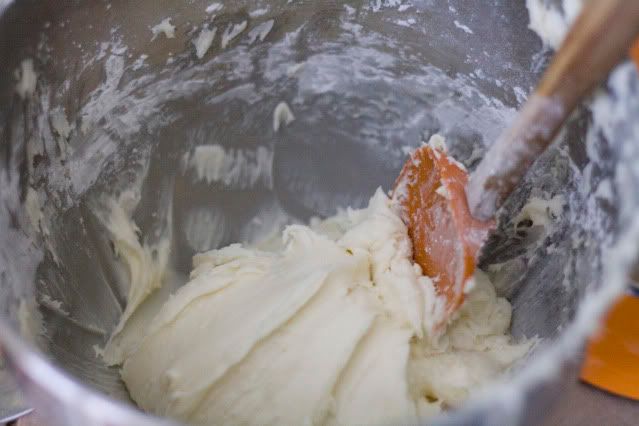 Now, you need the Oreos that you chopped into chunky pieces. You're going to mix those in until it looks like Oreo ice cream.
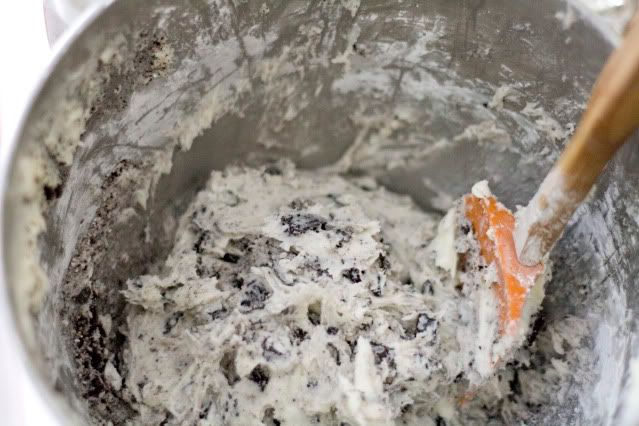 Here's where you can use that piece of foil from earlier. Throw it over the bowl and place it in the fridge for about 2 hours so it gets nice and firm. This is essential, or as my Mom's husband Cyle said "it just tastes like raw dough". Trust me here, it just needs to set a little.
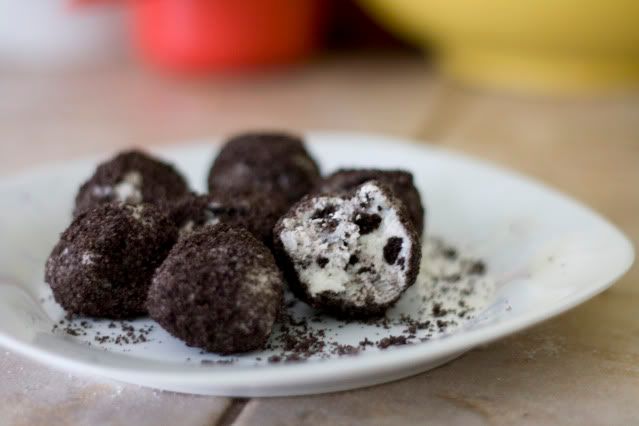
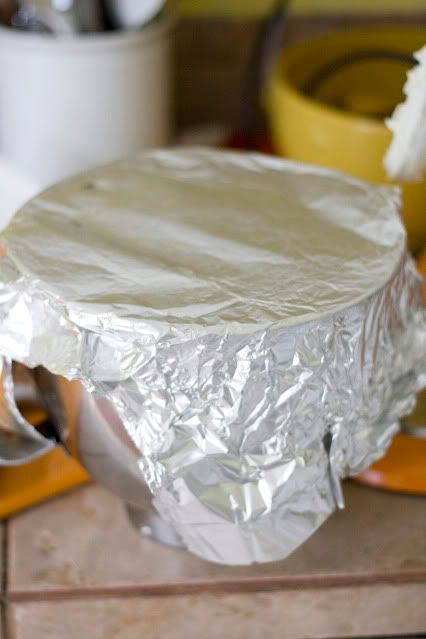 After it's had time in the fridge to chill, take it out and shape them into bite sized balls. They're pretty rich, so you don't want them to be too big. Grab the Oreo powdery dust, and roll each bon bon until they're completely coated with the crumbs.
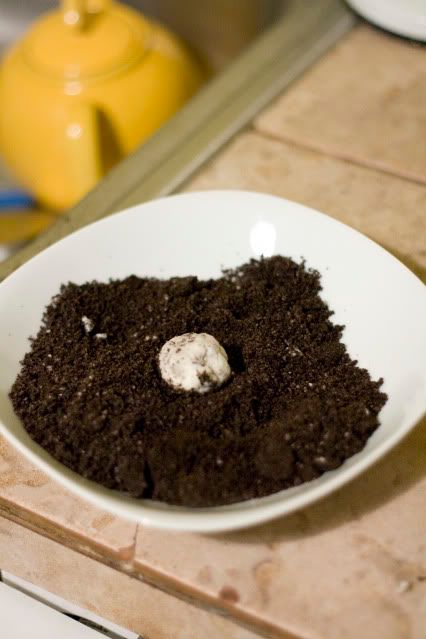
 There you have it! Delicious Oreo Bon Bons! I think they're best served when they're still a bit cold. The recipe makes a lot more than what is pictured, but I saved these ones for us and took the rest to the party!
 I promise they will be a hit! My Mom, after hearing Cyle's remarks (see above) when he prematurely tasted them, decided not to take them to her cookie exchange party. After they had set in the fridge, she finished making them and left them for the kids and their friends. Well, my sister Tali took them to her basketball practice and they were gone lickety-split! My Mom had many requests for the recipe from Tali's friends! I also won the Golden Spatula award at a ward baking contest with these bad boys!
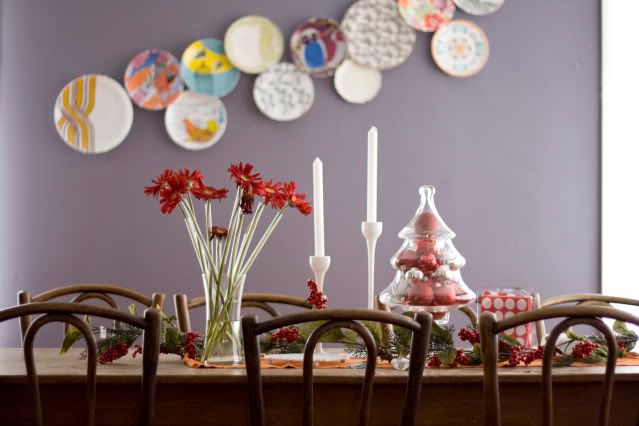 Don't mind some of the dying flowers!
 I saw this sign last year on Anthro and was so excited when Adam got it for me for Christmas!
 I think we went a little overboard on ornaments. But we were having so much fun! Plus, we only have 4 non-ball ornaments. I think perhaps we were overcompensating. I just love trees decorated with love.
 My peacock tree skirt! I love it!

 We had a song in high school that we requested at everryy dance. It happened to be "Shook Me All Night Long" by AC/DC, hence the awesome onesie Mary got me!
 Shane, Jess and Tali. They are getting wayyy too old!
 One of 30 pictures I tried to take of them in the restaurant.
 I just didn't want to be in the picture because I wouldn't fit in with my blonde hair.
 I was checking the lighting and background and Adam decided to model for me.
 And after trying for 15 minutes to get a "nice" picture of the two of us, this is the best we got. We're not what you call photogenic that's for sure.


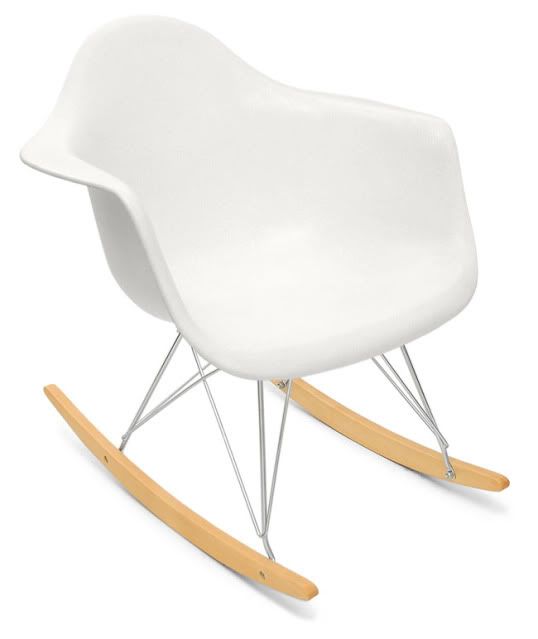 Now here is the typical Eames rocker that I see in a lot of nurseries on the web. I love the look of it! However, I hear mixed reviews on the comfort level. And I have no idea where I can try one out locally. Anyone have an idea for me?! There's also the debate on whether or not you should get a knock-off. Ummm...knock-off all the way. The original company doesn't even make them like they did back in the Eames era anyway.
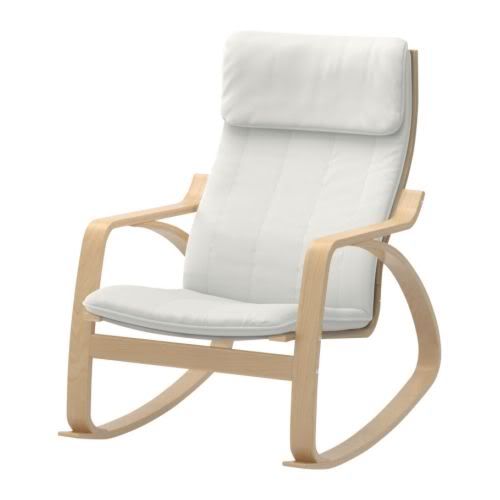 Then there are the two Ikea options. I have yet to try and sit in these, but I have read reviews from people that really like this option. I would paint or stain the wood and probably cover the cushions so that would cost a little extra. But at such an affordable price, it might be worth it.
 I like the look of this one. I would also paint or stain the wood and cover the cushions on this one. But I have heard that it's not really a rocker...as in, it barely moves.
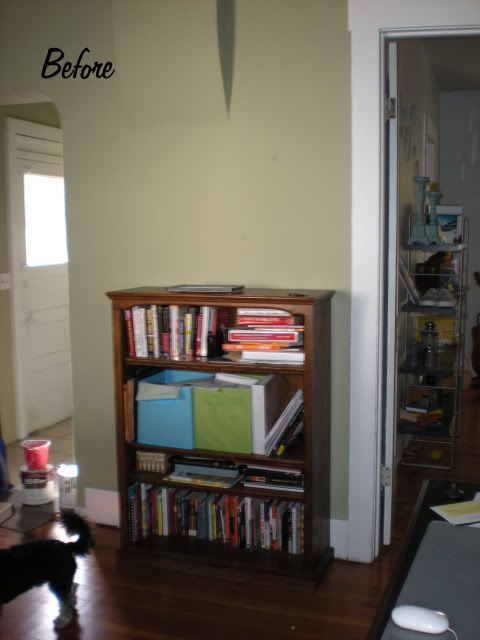
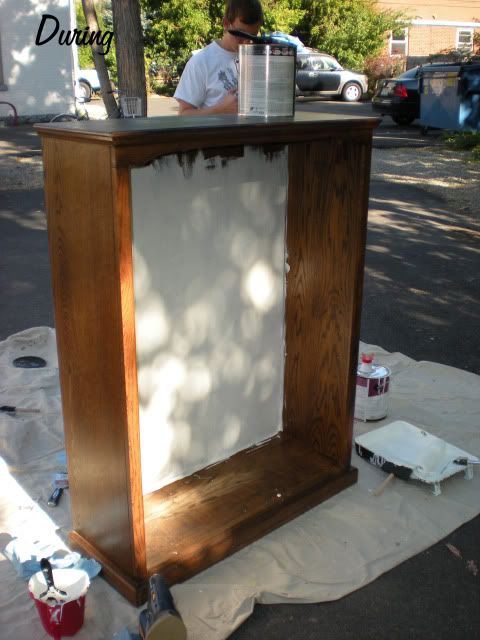
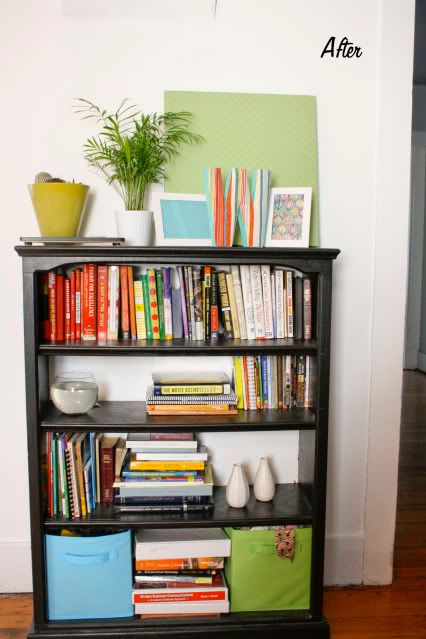
 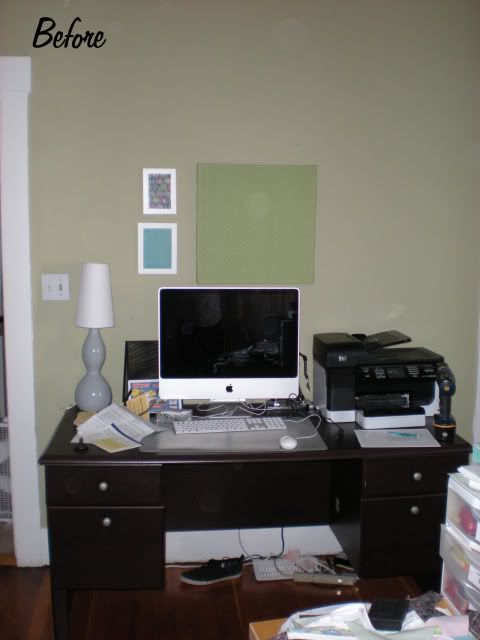 SO glad to be rid of that green color. I love green, don't get me wrong. It's always been my favorite color. The nursery is even painted green. But not that green. The ENTIRE house, every room, every wall and every ceiling had this green slopped on it when we first moved in. And it's almost all gone. Just the laundry and our bathroom are left!


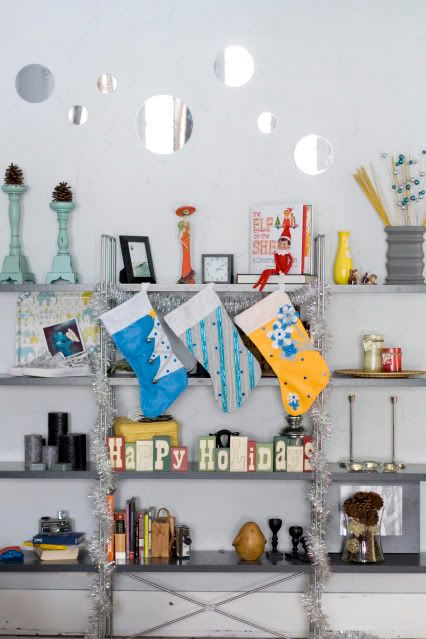
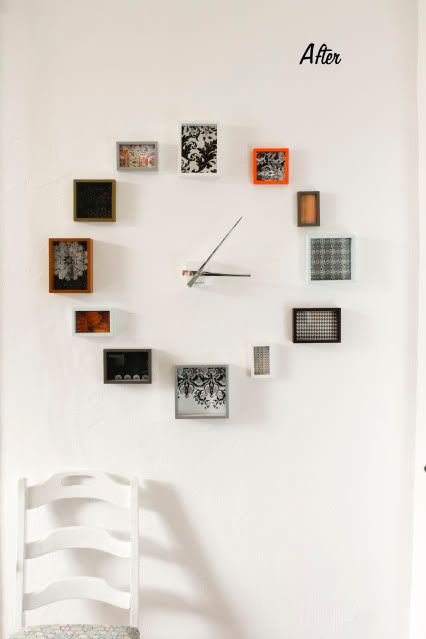 My clock! I decided to put black & white paper in the bigger frames and let the smaller frames have seasonal paper in it. I love how easy these are to switch out...you can do photos, paper, fabric, etc.
 Ta-da! So glad to have that crossed off of our list. We're moving on to the nursery now!
 Here is the pocket detail on the dress I made for our baby.
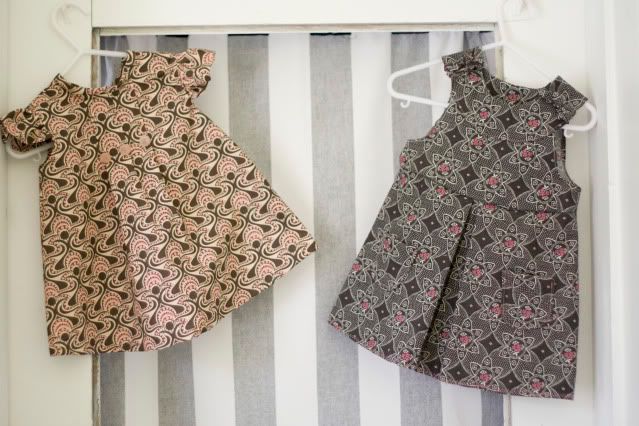
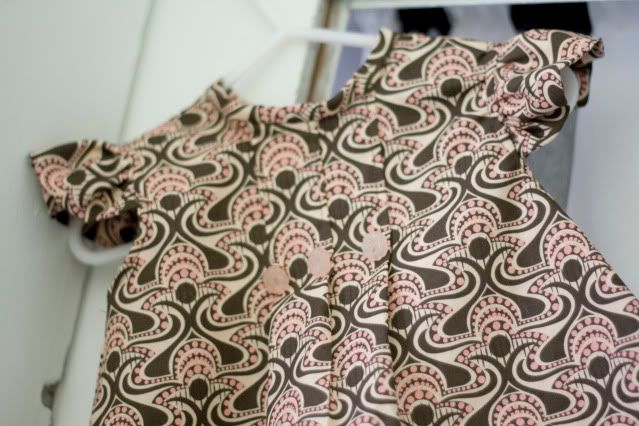 I just love the buttons and flutter sleeves on this dress. I think I want to make a dress with this pattern for us. It's adorable!